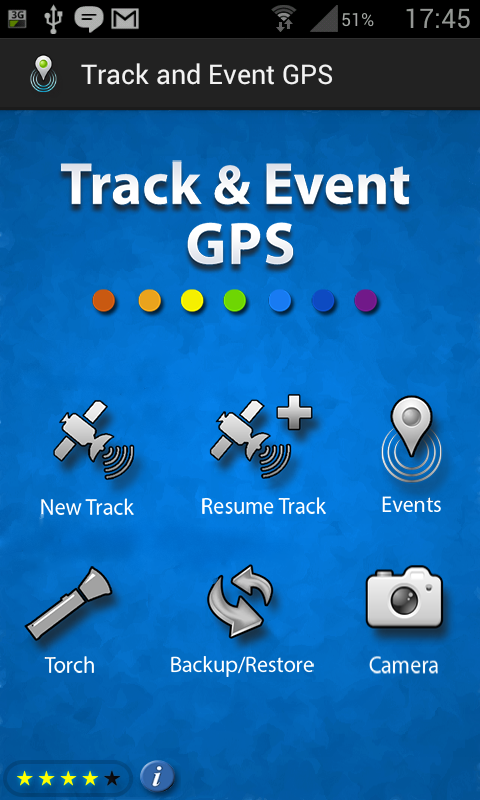
Track & Event GPS is a unique, fully resumable multi colour track and event recording application. This simple and versatile tool allows the user to track and record their movements within a predefined area. tracks can be saved, quit and resumed using a cycling colour. Additionally, you can drop ‘Event’ markers, and keep detailed records.
You can try a full version demo here :-
https://play.google.com/store/apps/details?id=com.trib.app.trackandeventlite
VERY IMPORTANT. PLEASE READ
Some users (2) have recently reported that after upgrading to Android 5.0, (lollipop) they have experienced some issues with GPS on their device. After some research, it has been established that this is caused by a known and documented error in the Android 5.0+ ‘GPS Lock’ coding, and affects a small number of devices. The most obvious symptoms to look for are:- A blinking gps/location icon. and/or jumpy track recording.
If you think this affects you, there is a simple fix. Please download install the app ‘ GPS Locker ‘ You can get it here:- https://play.google.com/store/apps/details?id=com.silentlexx.gpslock&hl=en
Once installed, open the app. go to settings and enable ‘Auto lock on GPS on’ This is a satisfactory temporary work around until Android release the fix..
How to use Track & Event GPS
Map view control.
Zoom to position = Target button top right. Move map sideways = touch screen and drag. Zoom in/out = Double tap screen but leave second tap down, then slide up to zoom in, or slide down to zoom out. Rotate = Touch screen with two fingers then rotate. ’3D’ view = Two fingers on screen then slide up slide up or down to suit. ( This is more noticeable at low altitude)Assuming you are at location, here’s how it works..
TURN ON GPS! Ideally, you should turn on both gps and Track & Event at least five minutes before you start. This will give the gps time to get a good moving fix on you, and you will benefit from a more accurate starting point.
New track
From the start up screen, select ‘New track’ Google satellite maps will start up. Press the ‘centre on position’ icon in the top right corner of the map. It will zoom to your position and you will now see yourself as a small blue arrow. You are now going to to outline your intended search area. To do this, from the menu select ‘Set area markers’ (you will then need to give the track name) To lay the first marker (in a corner for example) tap the screen. A marker will appear. This marker is immovable. Be accurate as you can be. You can then proceed to outline the search area by adding further markers. Apart from the first marker, these can be moved around for precision placement by holding down the marker until it becomes active. The last marker can be deleted by pressing ‘Back’ There is no need to completely close off the search area as this is done automatically by going to menu, and pressing ‘Finalise area’. This will connect the first marker to the last. You are now ready to go. Press ‘Start detecting’ and you’re off!
Resume track.
To resume a previous search. On the start up screen, press the ‘Resume search icon. Then, in the menu ‘Select map’ select a map from the list.When you are position and ready to continue from where you left off, from the menu, press ‘Start detecting’ Saving is automatic. Just exit the programme when your done.
Recording events.
When you make a find that you want to record. In the menu select, ‘Record a find’. You have the choice of entering the location automatically (by gps) or manually (by sight) positioning, The latter being more accurate. Enter any details about the find, press OK then touch the screen to place a star marker. As with the area border markers, to be extra precise, hold the star marker down until it becomes active, then drag to exact spot.
Manually add tracks.
There is an option for the user to enter their tracks manually, and make records from memory at their convenience.To do this, go to: menu/ start detecting/ Add a track . Position screen, and tap screen to lay tracks. Please note that unless you are adding to to an existing record/save you will need to create a search area
Multi–colour tracks.
Every new search always starts with a red track. The next time you resume searching within the same area it will lay orange tracks. On each subsequent stop/resume, it will cycle through ten colours. The colour order is :- Red / Orange / Yellow /Green / Turquoise / Blue / Light Blue / Lilac / Purple / Pink. This is useful for differentiating between previous visits to the same search area. You may pause a search, and continue in the same colour, but once you have closed the map completely, the next time you resume, it will be with the next colour.
Camera(s).
There are two types of camera function. The desktop camera is designed to be a stand-alone showcase. Only your best pictures go in here!
There is also a ‘event cam’ This can be used when dropping and recording a marker, and also creates a thumbnail for your finds record list.
For a list of FAQ’s please click here
Thank you for choosing Track & Event GPS. I would love to hear how you get on, and also of any ideas you may have to improve it or would like to see added.
Happy Hunting.
Mark S
116 Responses to Track & Event GPS user guide